React, TypeScript और Vite के साथ Chrome Extension बनाएं
React 18, TypeScript, Vite और Manifest V3 का उपयोग करके Chrome extension बनाने और publish करने की step-by-step guide।
इस article में हम React, TypeScript और Vite का उपयोग करके scratch से एक Chrome extension बनाएंगे। हम Freelance Rate Calculator बनाएंगे जो developers को उनकी market rate check करने में मदद करता है।
इस article में शामिल है:
- Chrome Extension के लिए React + Vite + TypeScript project setup
- Manifest V3 के लिए manifest.json configure करना
- Tailwind CSS के साथ calculator UI बनाना
- Extension को locally load और test करना
- Chrome Web Store में submit करना
Project Setup
React और TypeScript के साथ नया Vite project बनाएं:
npm create vite@latest rate-calculator -- --template react-ts
cd rate-calculator
npm install
Tailwind CSS add करें:
npm install -D tailwindcss postcss autoprefixer
npx tailwindcss init -p
tailwind.config.js configure करें:
/** @type {import('tailwindcss').Config} */
export default {
  content: ["./index.html", "./src/**/*.{js,ts,jsx,tsx}"],
  theme: {
    extend: {},
  },
  plugins: [],
};
src/index.css में Tailwind directives add करें:
@tailwind base;
@tailwind components;
@tailwind utilities;
Lucide icons add करें:
npm install lucide-reactManifest V3 Add करें
public/manifest.json बनाएं:
{
  "manifest_version": 3,
  "name": "Freelance Rate Calculator",
  "version": "1.0.0",
  "description": "Calculate your freelance rate based on tech stack, experience, and location",
  "action": {
    "default_popup": "index.html",
    "default_icon": {
      "16": "icons/icon16.png",
      "48": "icons/icon48.png",
      "128": "icons/icon128.png"
    }
  },
  "icons": {
    "16": "icons/icon16.png",
    "48": "icons/icon48.png",
    "128": "icons/icon128.png"
  }
}
public/icons/ folder बनाएं और 16x16, 48x48, और 128x128 sizes में extension icons add करें।
Rate Data Add करें
Tech stacks, experience levels, और locations के साथ src/data/rates.ts बनाएं:
export interface TechStack {
  id: string;
  name: string;
  baseRate: number;
  demand: "high" | "medium" | "low";
}

export interface ExperienceLevel {
  id: string;
  name: string;
  years: string;
  multiplier: number;
}

export interface Location {
  id: string;
  name: string;
  multiplier: number;
}

export const techStacks: TechStack[] = [
  { id: "genai", name: "GenAI / LLM", baseRate: 175, demand: "high" },
  { id: "rust", name: "Rust", baseRate: 135, demand: "high" },
  { id: "react", name: "React", baseRate: 90, demand: "high" },
  { id: "typescript", name: "TypeScript", baseRate: 92, demand: "high" },
  { id: "nodejs", name: "Node.js", baseRate: 85, demand: "high" },
  { id: "python", name: "Python", baseRate: 90, demand: "high" },
  // और stacks add करें...
];

export const experienceLevels: ExperienceLevel[] = [
  { id: "junior", name: "Junior", years: "0-2 साल", multiplier: 0.55 },
  { id: "mid", name: "Mid-level", years: "3-5 साल", multiplier: 1.0 },
  { id: "senior", name: "Senior", years: "5-8 साल", multiplier: 1.45 },
  { id: "lead", name: "Lead / Architect", years: "8+ साल", multiplier: 1.85 },
];

export const locations: Location[] = [
  { id: "usa", name: "United States", multiplier: 1.0 },
  { id: "uk", name: "United Kingdom", multiplier: 0.85 },
  { id: "germany", name: "Germany", multiplier: 0.82 },
  { id: "japan", name: "Japan", multiplier: 0.62 },
  { id: "india", name: "India", multiplier: 0.32 },
  // और countries add करें...
];
Rate calculation formula:
const getMarketRate = (
  stack: TechStack,
  exp: ExperienceLevel,
  loc: Location
) => {
  const base = stack.baseRate * exp.multiplier * loc.multiplier;
  return {
    low: Math.round(base * 0.85),
    mid: Math.round(base),
    high: Math.round(base * 1.15),
  };
};
Example: Germany में Senior React developer = 90 * 1.45 * 0.82 = $107/hr
Calculator UI बनाएं
Calculator form के साथ src/App.tsx update करें:
import { useState } from "react";
import { techStacks, experienceLevels, locations } from "./data/rates";
import type { TechStack, ExperienceLevel, Location } from "./data/rates";

function App() {
  const [stack, setStack] = useState<TechStack | null>(null);
  const [experience, setExperience] = useState<ExperienceLevel | null>(null);
  const [location, setLocation] = useState<Location | null>(null);
  const [myRate, setMyRate] = useState("");
  const [showResult, setShowResult] = useState(false);

  const getMarketRate = () => {
    if (!stack || !experience || !location) return null;
    const base = stack.baseRate * experience.multiplier * location.multiplier;
    return {
      low: Math.round(base * 0.85),
      mid: Math.round(base),
      high: Math.round(base * 1.15),
    };
  };

  const handleCheck = () => {
    if (stack && experience && location && myRate) {
      setShowResult(true);
    }
  };

  // showResult state के based पर form या results render करें
  return (
    <div className="w-[400px] h-[600px] p-4 bg-gray-900 text-white">
      {/* form inputs और results */}
    </div>
  );
}

export default App;
src/index.css में fixed popup dimensions set करें:
body {
width: 400px;
height: 600px;
margin: 0;
overflow: hidden;
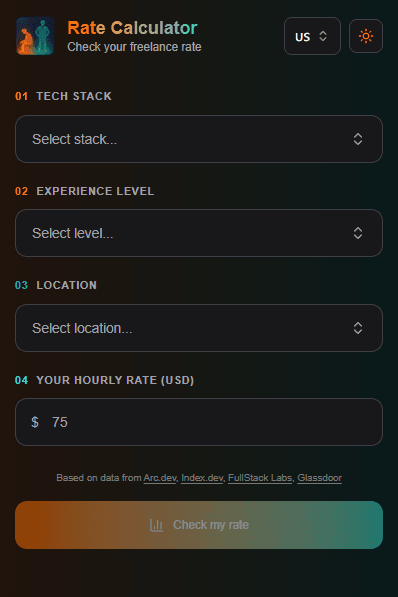
}Stack, experience, location के लिए dropdowns के साथ input form:
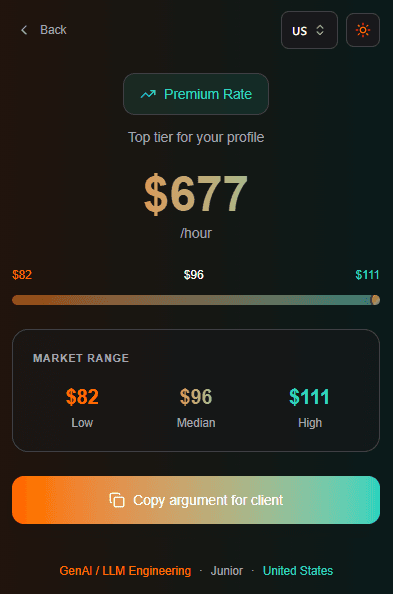
Market rate comparison दिखाने वाली results screen:
Extension Build करें
Extension build के लिए vite.config.ts update करें:
import { defineConfig } from "vite";
import react from "@vitejs/plugin-react";

export default defineConfig({
  plugins: [react()],
  build: {
    outDir: "dist",
    rollupOptions: {
      input: "index.html",
    },
  },
});
Extension build करें:
npm run buildयह आपके extension files के साथ dist/ folder बनाता है।
Extension Locally Load करें
Chrome open करें और chrome://extensions पर navigate करें। Top right corner में "Developer mode" enable करें।
"Load unpacked" click करें और dist/ folder select करें।
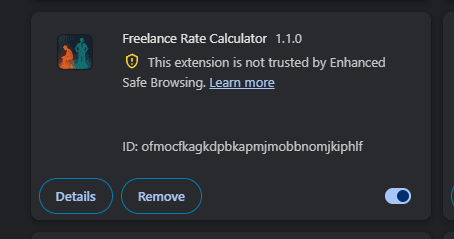
Popup test करने के लिए toolbar में extension icon click करें।
Chrome Web Store में Submit करें
Chrome Web Store Developer Dashboard पर जाएं।
First time के लिए $5 one-time developer fee required है।
Assets prepare करें:
- Extension icon: 128x128 PNG
- Screenshot: 1280x800 या 640x400
- Promotional tile: 440x280
अपने dist/ folder का ZIP बनाएं:
cd dist && zip -r ../extension.zip . && cd ..ZIP upload करें, description fill करें, screenshots add करें, review के लिए submit करें।
Review में 1-3 days लगते हैं। Common rejection reasons:
- Description में keyword stuffing
- Missing privacy policy (अगर permissions use कर रहे हैं)
- Incorrect screenshots
Approval के बाद:
Conclusion
बस इतना ही। हमने React, TypeScript और Vite के साथ एक Chrome extension build किया, locally test किया, और Chrome Web Store में publish किया।
Final stack:
- React 18
- TypeScript
- Vite
- Tailwind CSS
- Manifest V3
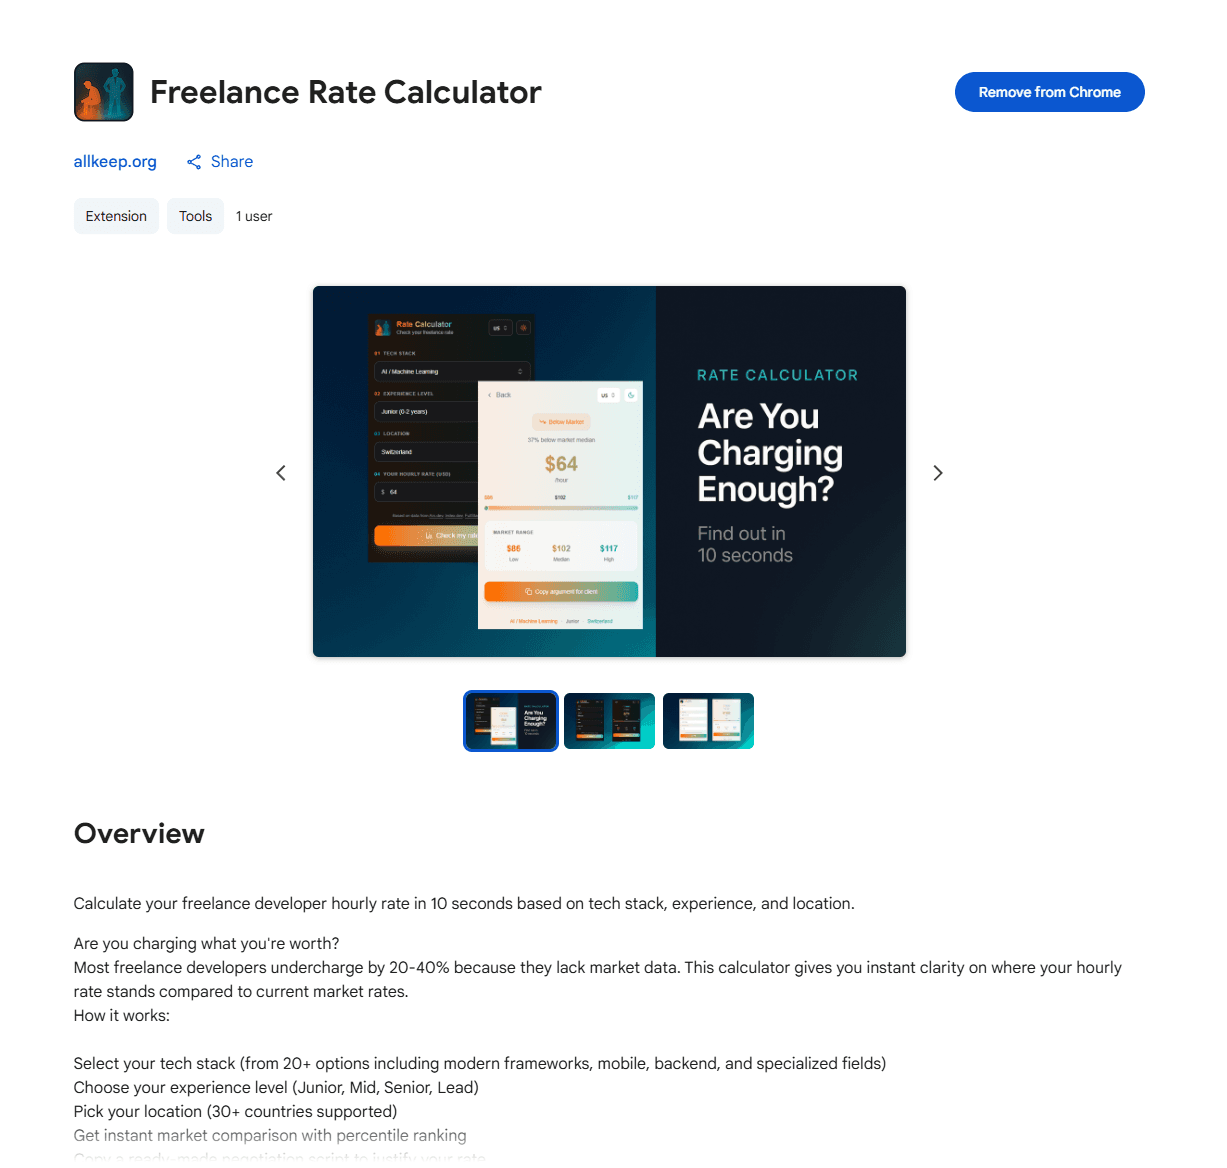
Live extension: Freelance Rate Calculator
अगर article पसंद आया, तो Twitter @Nefayran पर follow करें — #buildinpublic content।
